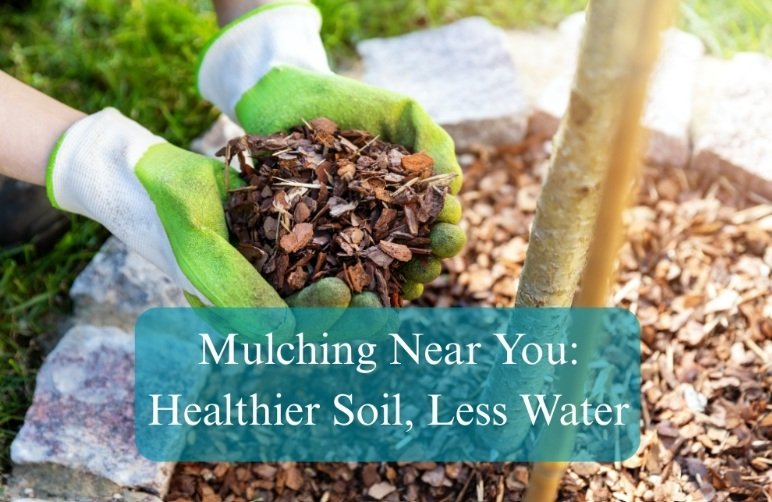
Mulch does a lot of quiet work in the background—keeps the ground cool, slows the soil from drying out, and makes life harder for weeds. When you’re weighing up local options, it’s tempting to chase the cheapest pile or the prettiest photos, but the real difference comes from a simple plan: the right material, at the right depth, laid at the right time, and handled safely. Start with the basics at your place—how the sun hits the beds, what the soil feels like after rain, and where water tends to run. Decide what jobs you’ll tackle yourself and what’s better handed to a crew. If you’d rather bundle the heavy lifting, nearby tree mulching services can cover delivery, placement, and clean-up so you get the benefits without the mess.
It isn’t magic—just simple physics and plant biology working in your favour. With a decent layer in place, plants ride out hot spells with less stress, and the garden needs fewer top-ups.
I’ve seen a dusty courtyard bed settle down in a few weeks after a fresh layer went on: fewer wilted afternoons, steadier growth, and watering shifted from daily sprinkles to an occasional deep soak.
The best mulch is the one that fits your conditions and your maintenance appetite. Think about climate, wind exposure, and how you’ll replenish it.
I learned the hard way on a breezy slope: The first storm lifted a too-light mulch straight into the path. Switching to a coarser, heavier chip held firm, kept moisture in, and cut weeding by half.
Getting the fundamentals right saves time and money. Too thin and weeds love you; too thick and water struggles to reach the soil.
Before spreading, I like to map water flow with a hose: watch where puddles form and where runoff wants to go. A small tweak to path edges or a shallow swale can keep mulch where you put it and move water to thirsty zones.
If you plan to hire help, clarity up front stops budget creep later. Ask for scope, materials, and clean-up in writing so you can compare like-for-like.
Good hygiene matters because poor practices can spread weeds and diseases between properties. Framing your brief with biosecurity in mind—especially when about weeding and mulching services and understanding the impacts of weeds—helps protect local ecosystems and keeps your fresh layer from importing unwanted passengers.
Plenty of mulching jobs are weekend-friendly, but some are faster and safer with a crew. Be honest about time, tools, and access.
I once tackled a long, narrow side bed alone—it looked easy on paper. The access turned it into a marathon of micro-loads. Bringing in help for the next season cut the job to a single morning and left the path clean enough to skip pressure-washing.
A tidy method beats brute force. Work from the farthest bed back toward the access point so you’re not tracking across finished areas.
Professionals also document materials and depths used, which helps future maintenance. I keep notes and a few photos on my phone so next season’s top-up matches the original look and performance.
Mulch isn’t set-and-forget. A few light, regular checks keep it doing the quiet work you installed it for.
If you’re mapping out tasks for the year, a practical framework that aligns planning and upkeep—especially for landscaping trends that help professionals—helps you tie seasonal watering, pruning, and top-ups together so beds stay consistent without ballooning weekend workloads.
Start with site reality—sun, slope, soil—and pick a mulch that suits wind and watering habits. Set depth and collars with care, then time your spread after rain or a deep soak. If you’re hiring, spell out volume, material, hygiene, and clean-up so quotes line up. If you’re DIY-ing, protect your back and your paths, and work in arcs for an even finish. Keep the layer tidy throughout the year with light rakes, quick top-ups, and a seasonal irrigation check. That steady rhythm delivers the real pay-off: cooler soil, fewer weeds, slower evaporation, and plants that ride out heat with less fuss—exactly what most home gardens need.
Top Questions to Ask Before Hiring a Container
September 2, 2025Spark Homes: Your One-Stop Destination for Quality Building Solutions
September 1, 2025Waste Management Essentials in Home Construction 1
September 1, 2025Seasonal Home Care Essentials: Preparing Your Design for Every Climate
August 28, 2025Expert Electrical Services for a Safer, Smarter Home
August 27, 2025
